> For the complete documentation index, see [llms.txt](https://docs.boomerangme.cards/llms.txt). Markdown versions of documentation pages are available by appending `.md` to page URLs; this page is available as [Markdown](https://docs.boomerangme.cards/integrations/shopify.md).
# Shopify
Connect integration with Shopify
### Which Shopify integration do I need?
Boomerangme offers two separate ways to connect to Shopify:
| | **Shopify POS** | **Shopify** (this article) |
| ----------------------------------------- | ------------------------------------------------------------------------------------------ | ---------------------------------------------------------------------------------------- |
| How it connects | Custom app created in your Shopify store (Admin API) | Ready-made app installed in one click from Integrations |
| Card types | Stamp, cashback, discount, or reward | Cashback only |
| Boomerangme branding | None — no storefront widget, no Boomerangme branding visible to customers | Storefront widget with Boomerangme branding, visible to customers on the store |
| Can be connected via a white-label domain | Yes | No |
| Accrual depth | For stamp and reward cards, accrual must be done manually through the in-store Scanner app | Fully automatic — no scanner needed, points/cashback accrue directly from Shopify orders |
#### Correct way to connect Shopify
{% hint style="success" %}
**Correct**: Connect the Shopify store **only inside the client's sub-account** — the one that must receive orders, cashback, and customer data.
{% endhint %}
{% hint style="danger" %}
**Incorrect**: Connecting Shopify in your agency account first and then trying to reconnect it in the client's sub-account. Even with the same Shopify login, the app becomes bound to the first location it was connected in. This applies to both this integration and Shopify POS.
{% endhint %}
**If you already connected it incorrectly, here's how to fix it:**
1. Completely remove the Boomerang app from the Shopify store.
2. Make sure the integration is disconnected in your **agency** account.
3. Log into the **client's sub-account** using the domain `app.boomerangme.cards`.
4. Reconnect Shopify **only** from inside the client's sub-account.
5. Confirm that Shopify reinstalls the Boomerang app automatically.
After these steps, the integration will start working normally (widget, cashback, etc.).
### Step 1. Connect Shopify in Boomerangme
{% hint style="info" %}
This integration is only connected from the domain [app.boomerangme.cards](https://app.boomerangme.cards) — not from a white-label domain.
{% endhint %}
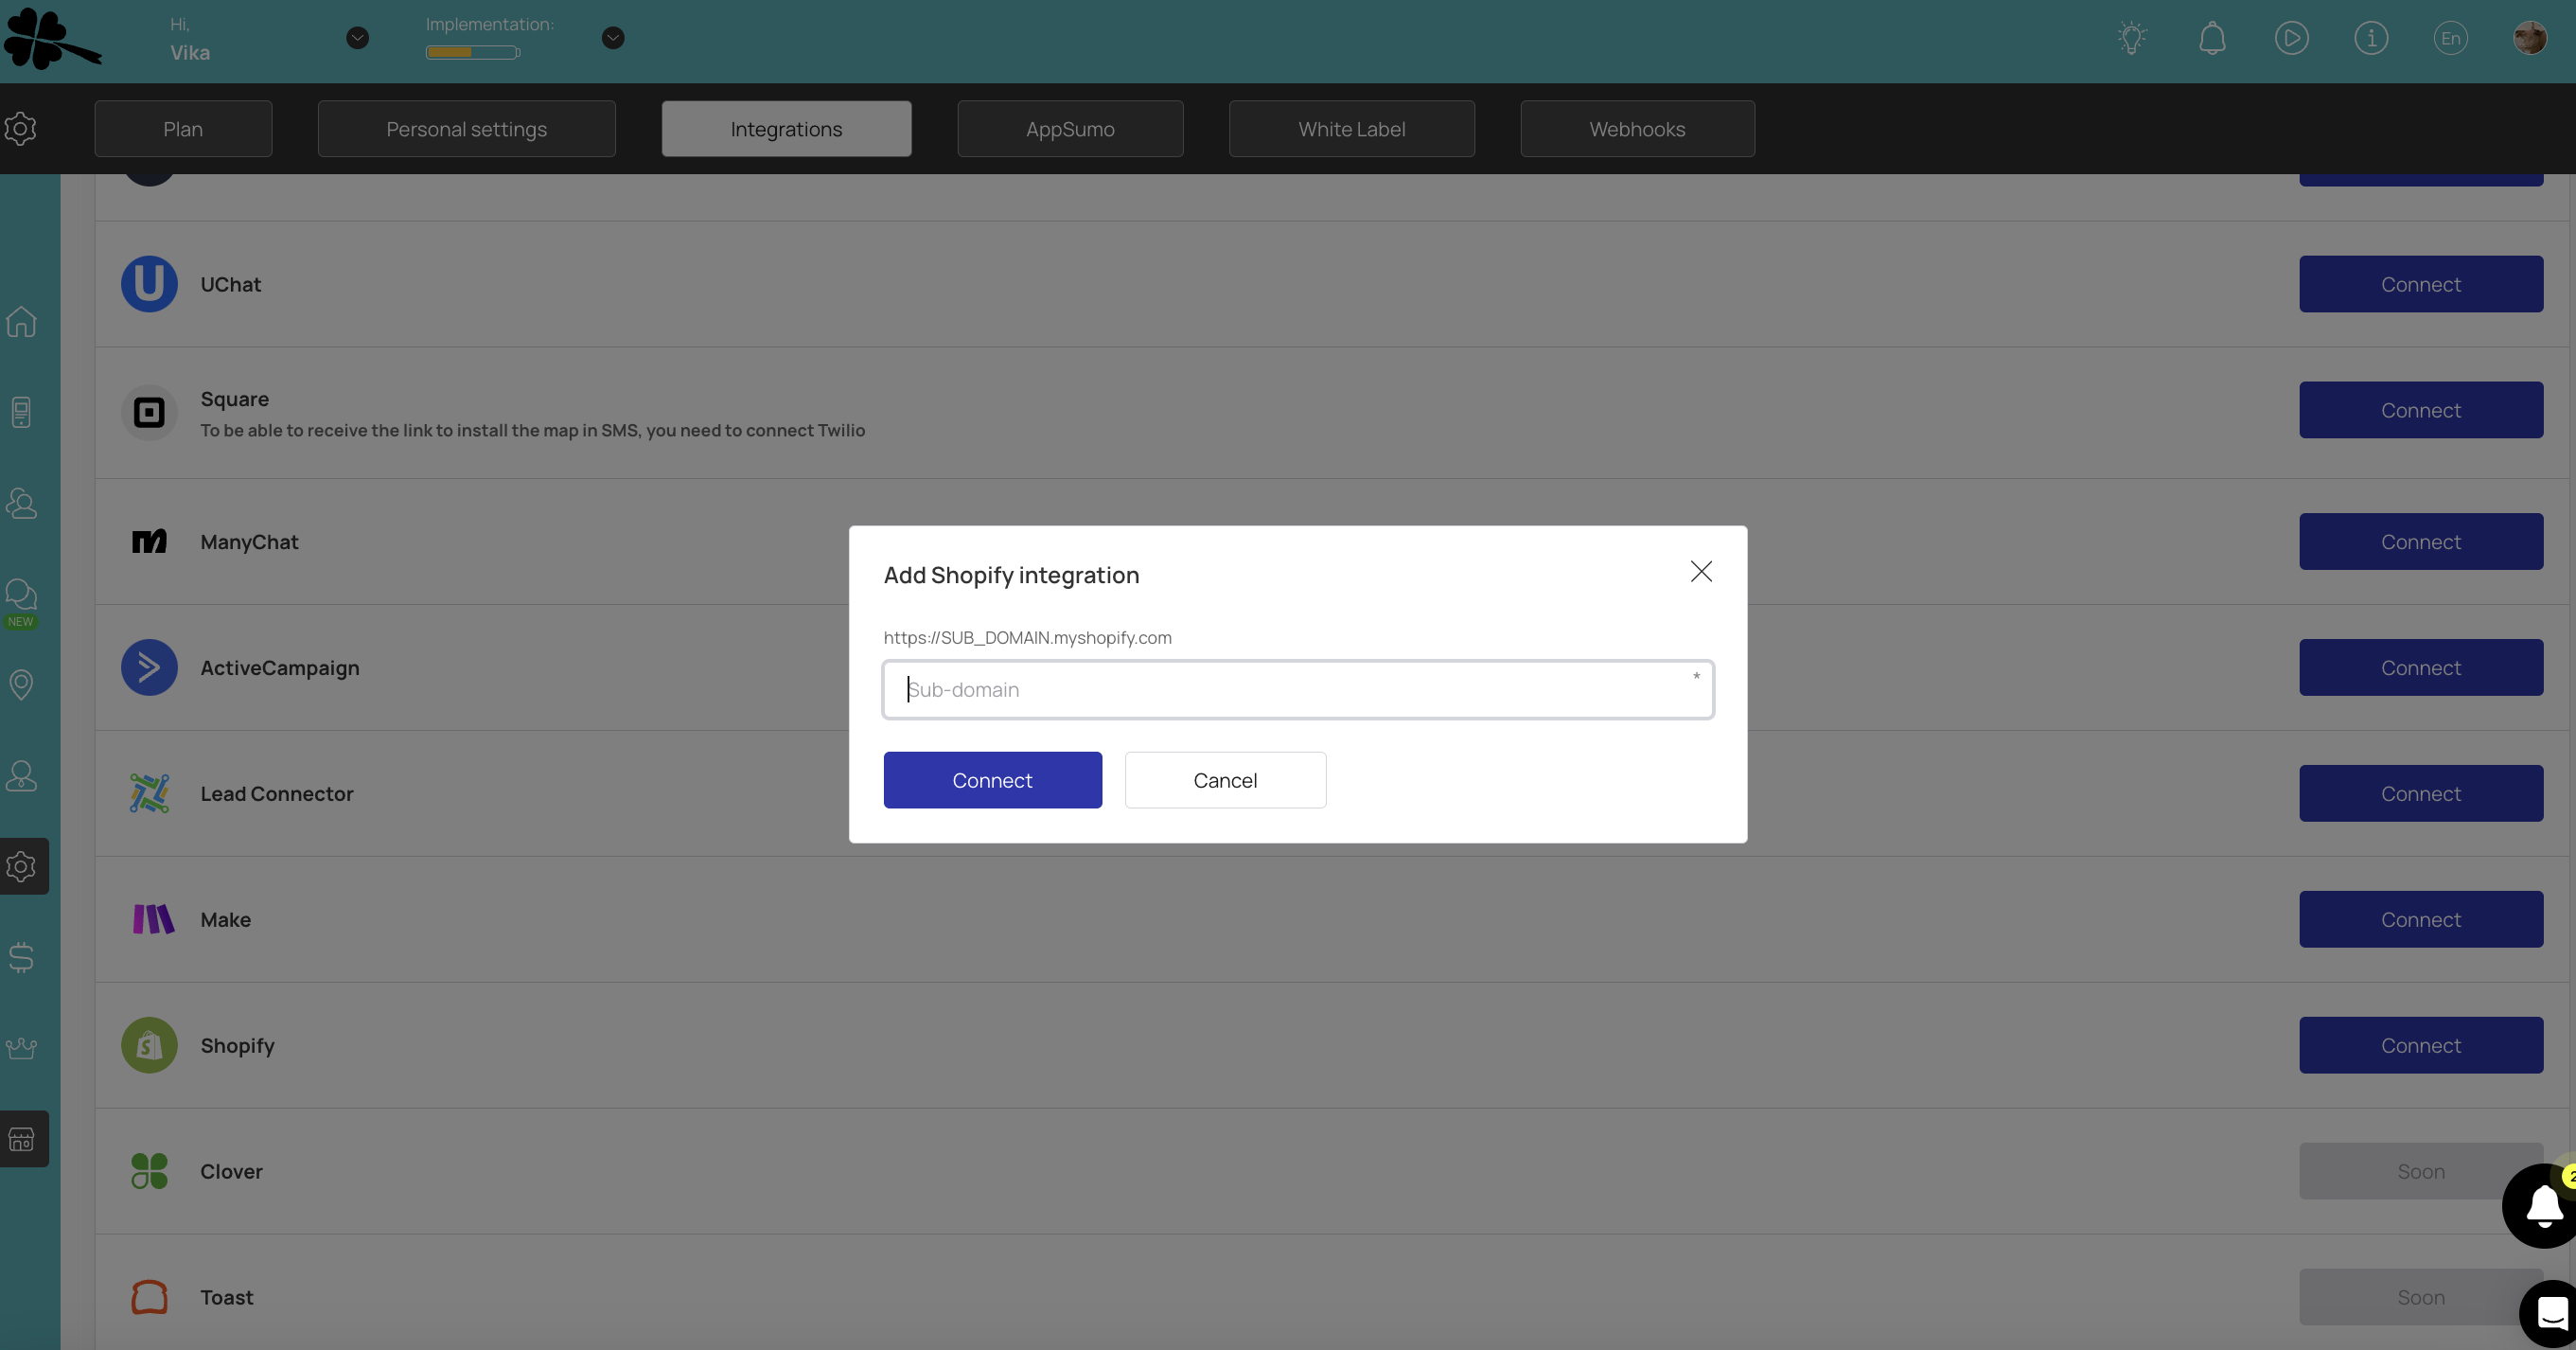
Navigate to the integrations section and select Shopify from the list.
In the modal window, enter your Shopify store URL and click Connect. Install the Boomerangme application.
### Step 2. Set up your loyalty card
In the "Cards" section, you'll find a cashback card template integrated with your Shopify store.
{% hint style="warning" %}
**Card type cannot be changed in settings** — it must be a cashback card, and **email is a mandatory field** in the card issuance form. You can customize other loyalty and design settings as you like.
{% endhint %}
{% hint style="danger" %}
**Don't forget to activate the card.** Until it's activated, you can only issue it to a maximum of **10 customers**.
{% endhint %}
### Step 3. Enable the storefront widget
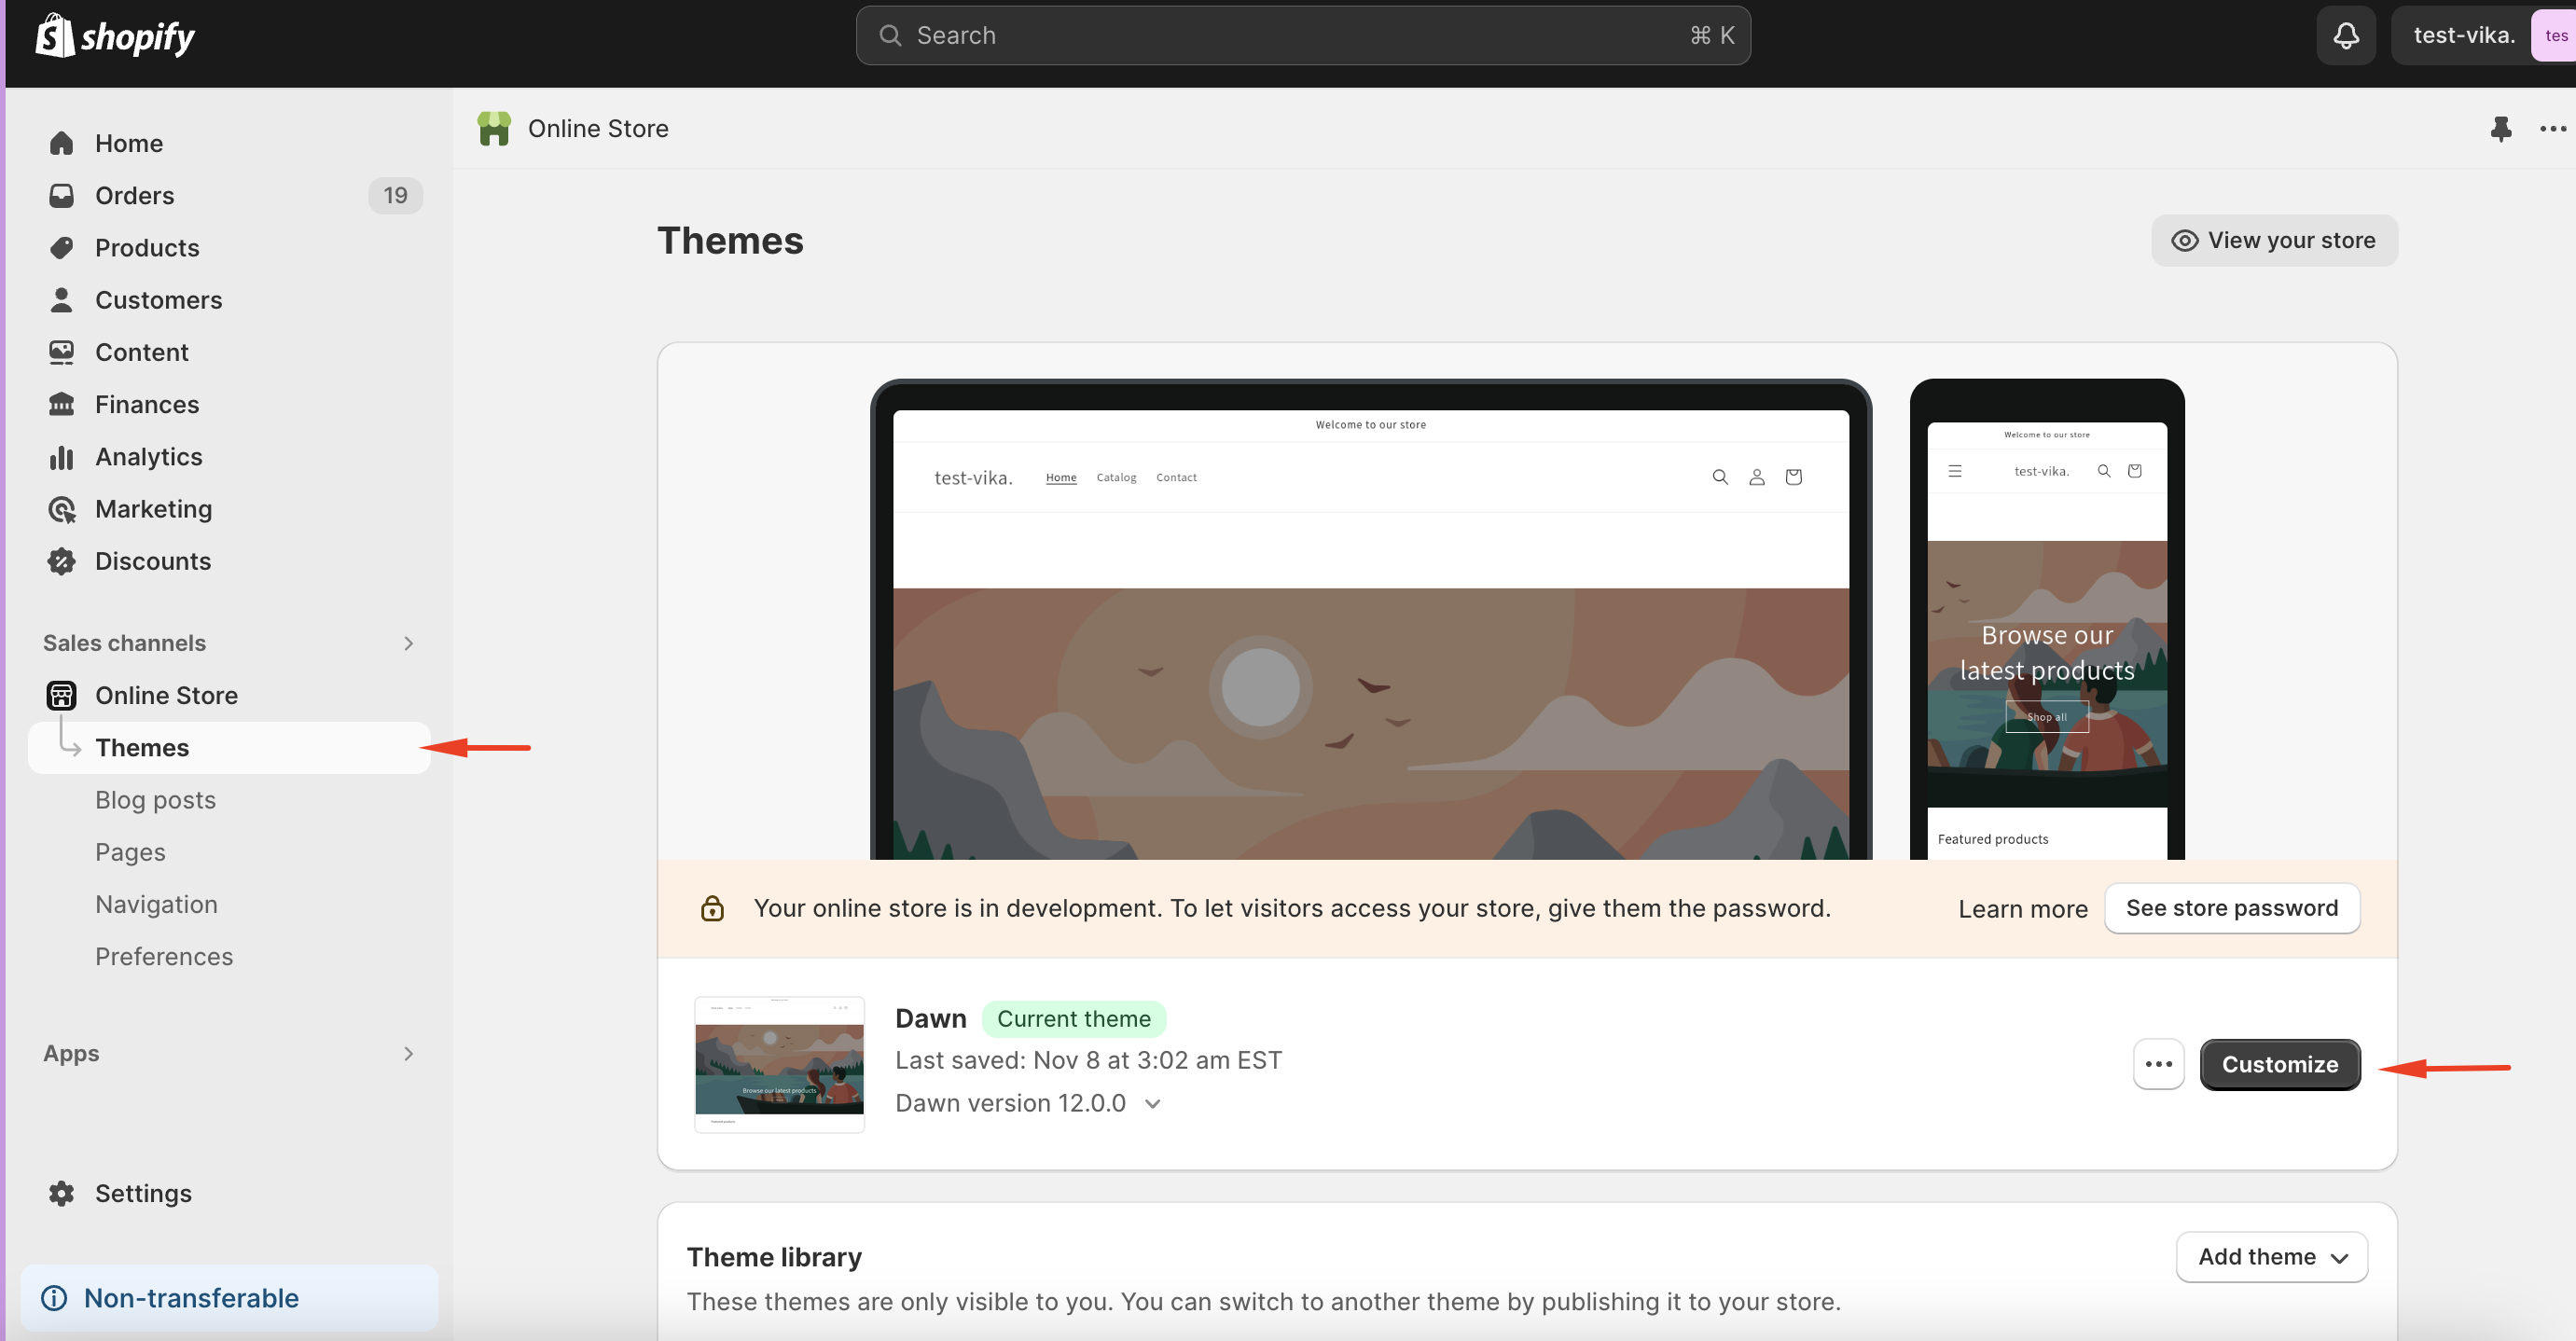
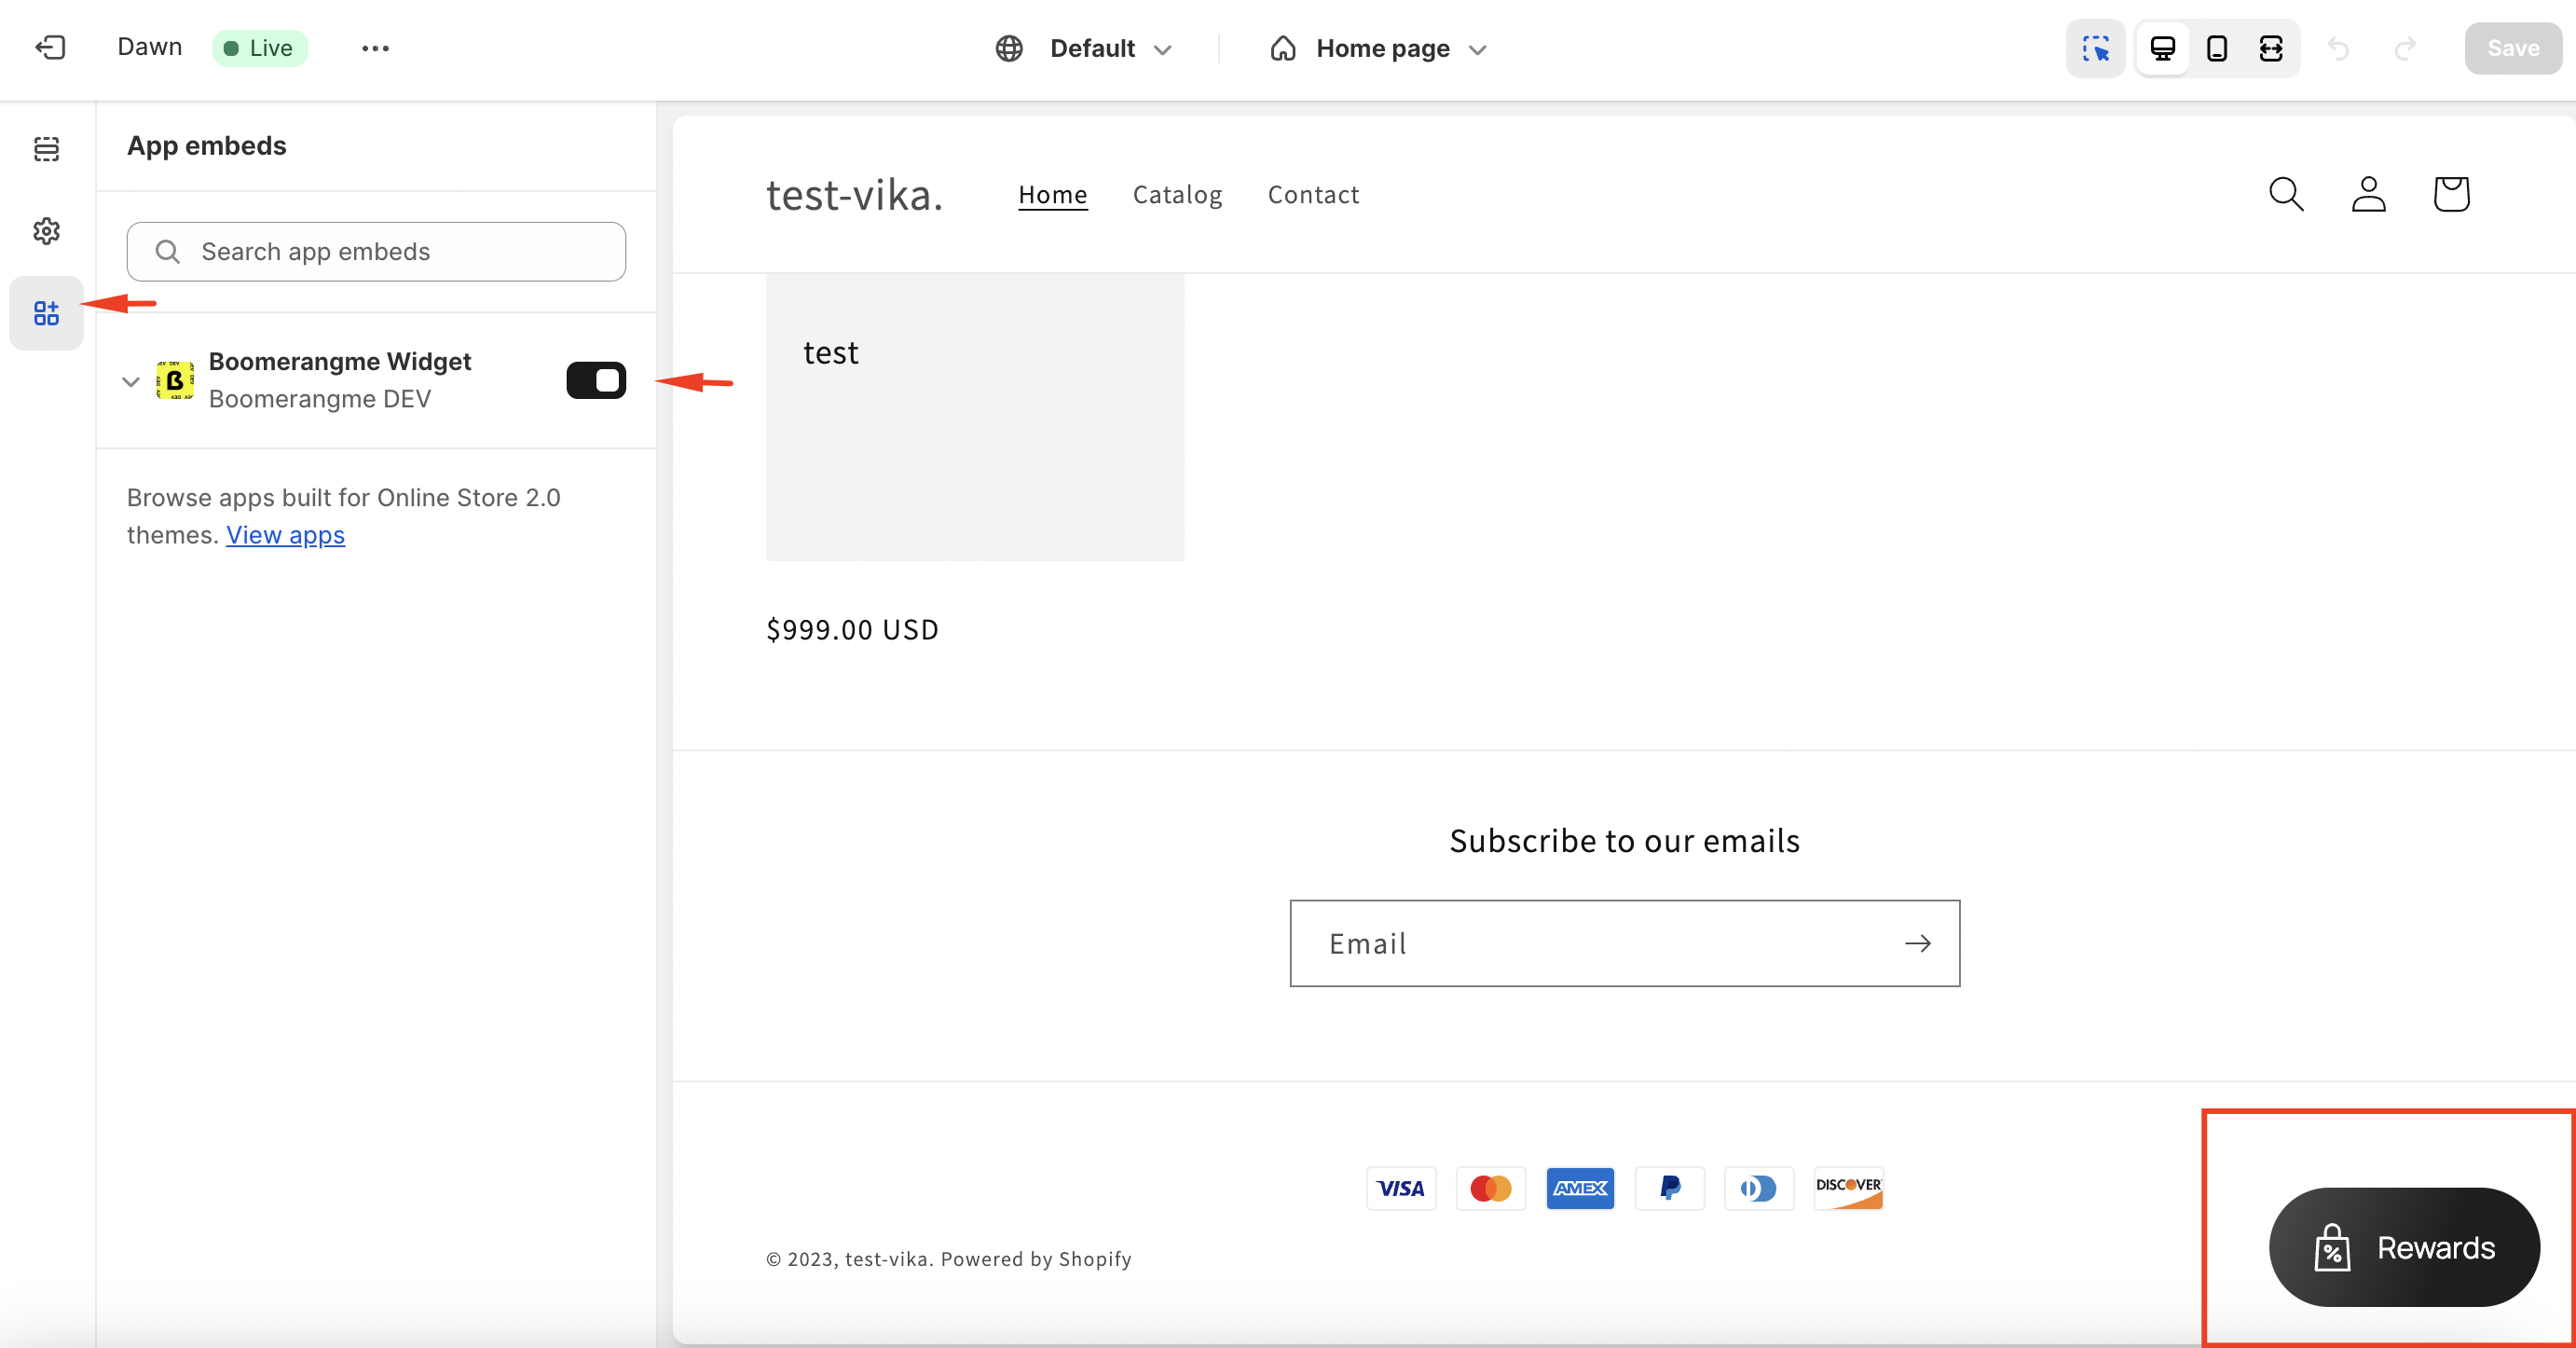
Go to your store theme settings and enable the Boomerangme widget.
The widget will now be displayed in your store. Registered users can access information about earned points, loyalty terms, and the referral program in the widget.
### How it works
Once the integration is set up, when a user registers in your Shopify store, they'll be issued a cashback card. All point additions and spending on the card will be synchronized with Boomerangme automatically.
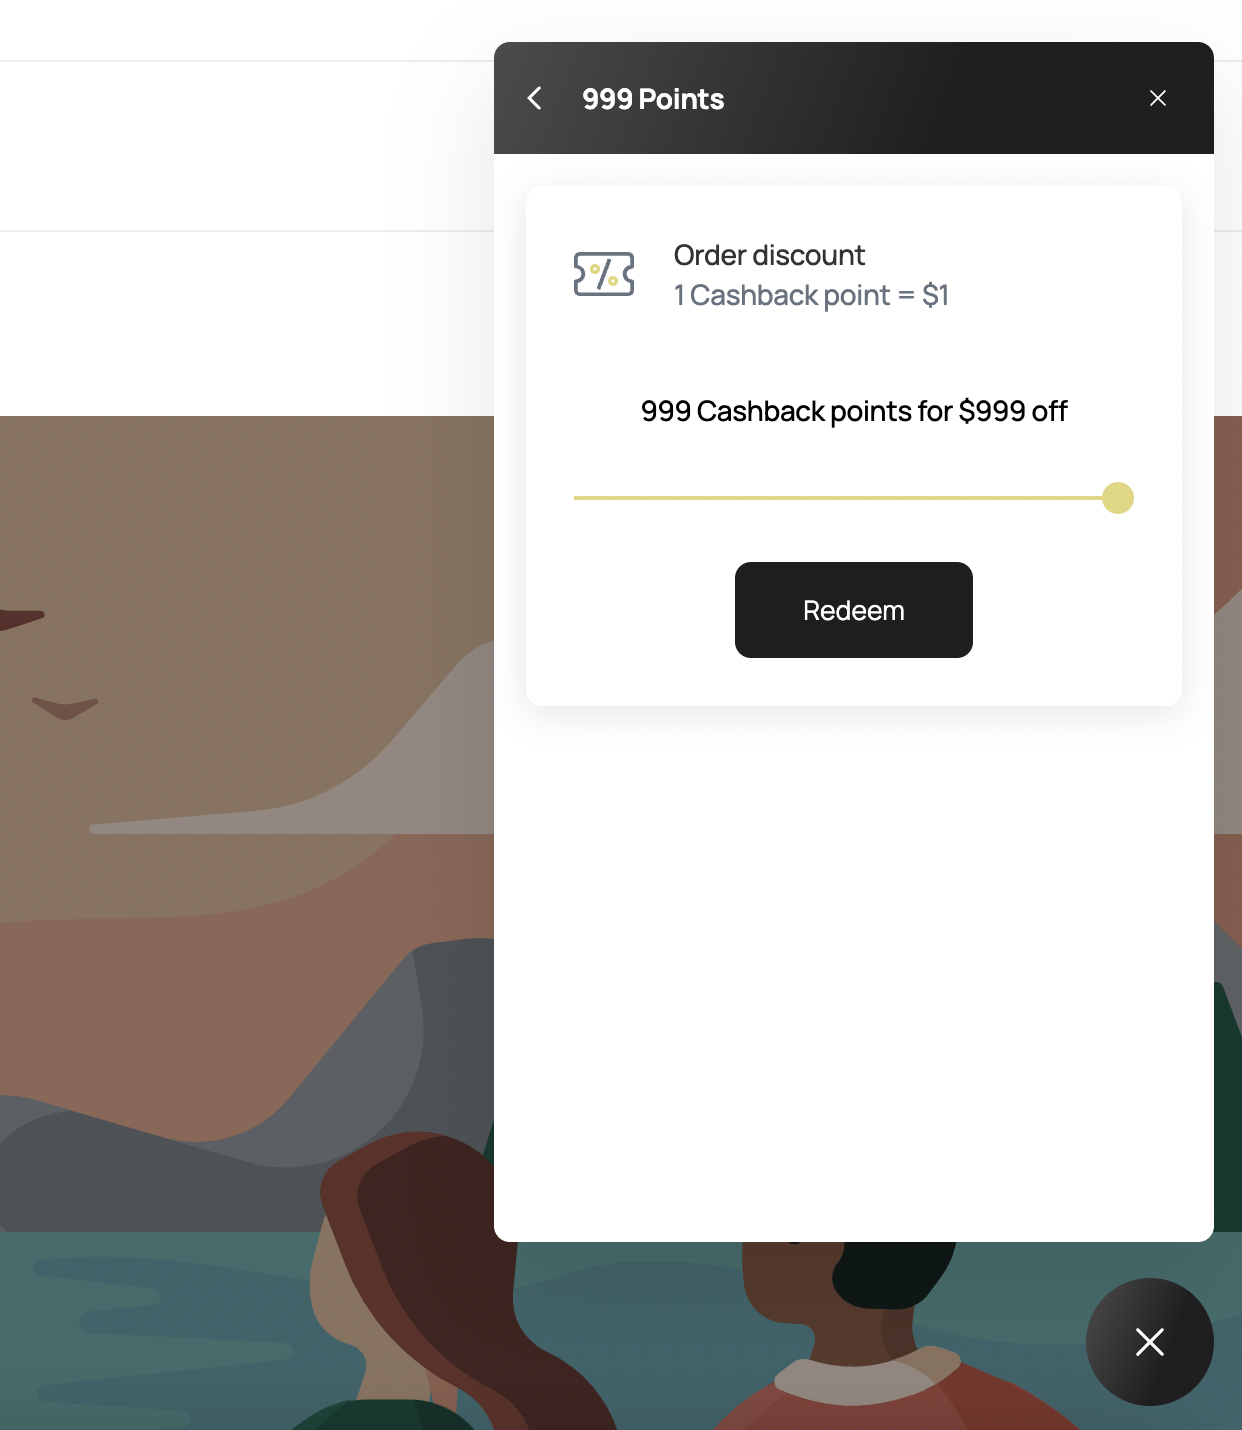
The widget also allows users to redeem points. In the widget's "Ways to redeem" section, select the number of points to redeem.
The discount promo code will then apply to the purchase in the payment window.
Once the order has been paid for in your Shopify store, the details of the payment order will be transferred to Boomerang. If the order is canceled, the points will be deducted from the card. The updated balance is automatically reflected on the customer's loyalty card installed on their phone, and the customer will receive a push notification about the change.
{% hint style="warning" %}
**If a purchase is canceled**, points will be deducted from the buyer's account.
{% endhint %}